Status - Transferred Out
There is a new status available in the system called “Transferred Out.”
Transferred Out Personnel will not show in availability and personnel tables unless you select “Show Transferred Out” from the menu item on the relevant table. They also have their own section in the add person dialog where they can be selected from.
Create a Transfer Out Location
Personnel can only become Transferred Out if they are specifically moved to a designated “Transfer Location.”
You will need to create a Location for this purpose.
Go to REFDATA/Locations and create a new location
Name the location as something relevant and easily recognisable as your MME location, e.g. “MME MANPOWER”
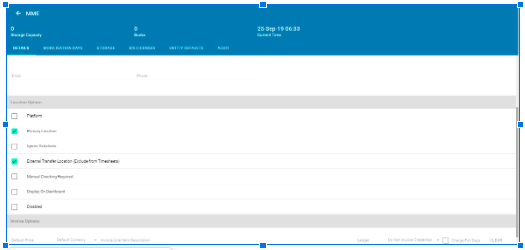
Make it a Primary Location
Check the “External Transfer Location” checkbox
You may wish to have a location for each manpower provider, if so, add more locations as appropriate following the above.
Note: Do not make your regular platforms external transfer locations as this will stop the system counting platform days for ALL personnel and kit and auto transfer out all personnel and kit.
Transferring a Person Out
Once you have the transfer location, you can now move personnel to that location as and when required
At the end of a task
Use the auto transfer button on the personnel tab in the tasking, next to the add travel icon

Clicking this button will open the following pop up
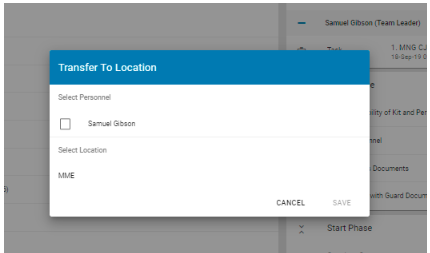
Select the people you wish to transfer and click on the transfer location you wish to use.,
Note: Only locations you have checked as External Transfer Locations will appear here. If none appear, return to the Create a Transfer Location instruction earlier in the article.
Click Save
The system will auto generate a transfer movement for the persons selected to the transfer location
From a Personnel Tab
Go to the person you wish to transfer out
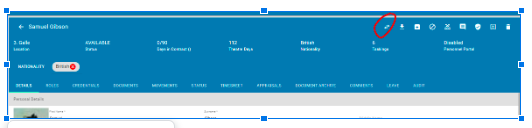
Click on the highlighted transfer out button
Select the Transfer location you wish to use
Press Save
The system will create an automated transfer record from the persons last location to the transfer location and they will update to Transferred Out
Adding a Transferred Out Person back in
When adding personnel to a task, in the Add Person dialog box, select “Transferred Out” from the Availability Tab
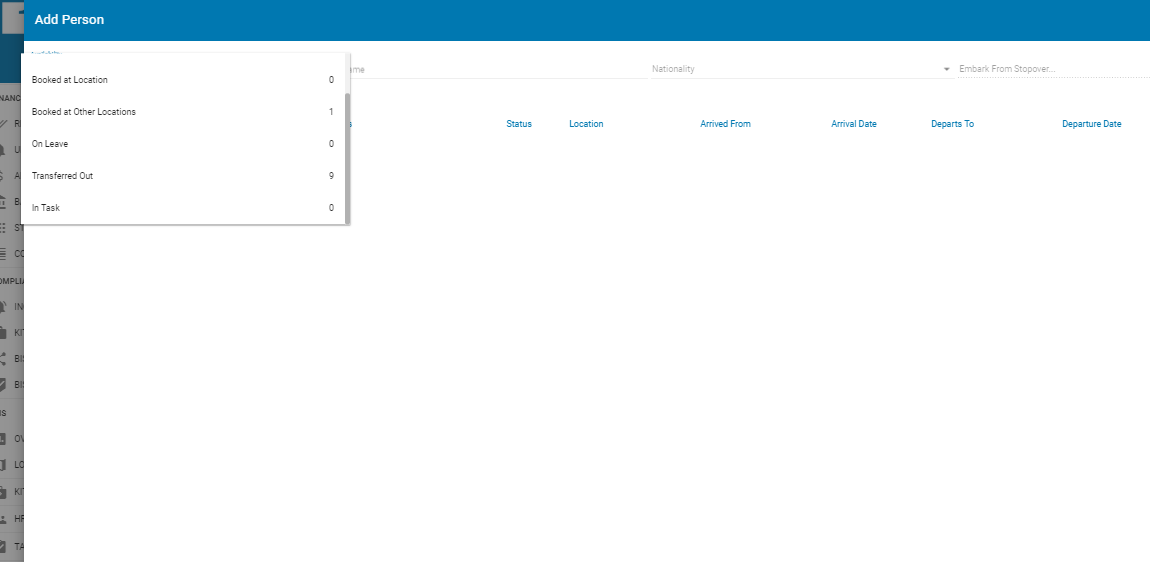
This will add the person back to the task and transfer them back into the system
Additional Notes
Transferred Out personnel will no longer appear on time sheets or generate time sheet entries
For accurate time sheets and availability, personnel handed back to their MME provider should be transferred at the time or the date of transfer edited to reflect this accurately.